Sunday, 9 June 2013

To Do List


The painting is done, we've installed the new tow hitch receiver and ball, and our mechanic wired the trailer brake controller and electrical receiver in our Ford Escape last week. We still have a lots to do before she's "finished," but aside from the safety check, we don't need to accomplish everything on our to do list before we take Bing on the road at last.

I don't plan to polish off all the decor all at once--I really want to savour the experience! (And let's face it, I don't wanna spend all summer sewing pillow covers!)

Bing's latest To Do List:


1. Re-install cabinet/drawer hardware and hang cabinet doors
2. Post-painting clean up: remove all tape, newspaper, plastic and put tools away
3. Scrub lino floor, polish aluminum trim/stove, and wipe down grimy ceiling wallpaper
4. Finish sewing curtains
5. Install curtain rods and hang curtains
6. Iron new cushion covers, put them on cushions, and move cushions back out into the trailer
7. Stop and admire. Take lots of photos to share online!
8. Install fire extinguisher and carbon monoxide detector
9. Fix hole in the bathroom floor where the icky old toilet used to sit
10. Buy portable toilet
11. Install toilet paper holder, towel bar and kitchen towel holder
12. Stock with dishes, cutlery and cooking utensils
13. DECORATE!!
14. Stop and admire and take more pictures to share online.
15. Sew pillow cushion covers
16. Make a small doormat and find something to use as a step stool
17. Practice towing!! (Eeep!)
18. Take Bing to RV shop for a safety checkup (tires, propane lines, etc.)
19. Pick our first glamping destination (hmmmm.....)
20. PACK 'ER UP AND HIT THE ROAD! 


Saturday, 8 June 2013

Curtain Call

I have several adorable fabrics in my stash that would make perfect window dressings for Bing. I can't decide!

I have, at least, decided on the main curtains around the dinette and kitchen. I've fashioned them from natural cotton, Moda Home days of the week kitchen towels I found on eBay. Their red crocheted trim and cute little Scottie dog and kitten graphics suit my vintage French country vision for Bing, yet appeal to my kids.

To make each panel, I've stitched them together two by two (I need a total of six panels). Like this:


I plan to hem the top edge to the desired length and hang them from cafe rods with clips so I can easily take them down to embroider them--the perfect pastime during rainy days at camp!

But what fabric to choose for the door?


I have a lovely vintage French torchon embroidered with AD--my and Ariel's initials. It's not quite long enough, so I'd have to sew a ruffle or bit of lace on the bottom.


Or, this tea towel printed with images of Cambridge, England, that I brought back as a souvenir many years ago when I spent a summer studying Shakespeare at the university:


There's also this white eyelet fabric with a cherry print that I adore, though it's very sheer:


And this equally adorable cherry print on a cream background that a lovely friend from the Girl Camp Canada Facebook group sent me "just because":


And finally, I have a huge bolt of gorgeous red gingham with an eyelet border that I picked up for $3 in the discard bin at Fabricland. There's actually enough here to do ALL of the curtains in Bing, but I do love those days of the week tea towels.


Do you see my dilemma? To add to my indecision, I also need to pick fabric for the 80 inch long front window. Perhaps that's a good use for the red gingham.

What do you think?

Monday, 3 June 2013

Lady in White

I am almost finished painting Bing's interior! I'll add the final coat of white paint to the cupboard door faces tomorrow, and then I can re-install them, remove the masking tape and newspaper, and start decorating!

Here are a few photos to give a sense of what Bing looks like, all sparkly white. I used Cloverdale Paint's Interior/Exterior Melamine Alkyd Enamel Paint, which is what the experts at the store recommended for Bing's brown, 1970s panelling. It is self-priming paint, but I needed three good coats for a good finish. The paint has a nice satin gloss, and is supposed to be extremely durable. 

I debated long and hard about the exact shade of off-white, but in the end, opted for base white. I prefer red and pure white over red and cream, but I hope the result isn't too blinding! I also wanted the walls to contrast with my off-white curtains.

Here's the before and after: 


She looks completely different inside! A fresh coat of paint makes everything so clean. I painted the closet interior and the insides of all the drawers, but I will paint the inside surfaces of the upper cupboards over the winter so they have a good chance to air out before the next camping season. I really just want to get Bing on the road!


Sunday, 2 June 2013

Happy International Glamping Weekend!

International Glamping Weekend is here...yet I am not camping!

Bing's not quite ready for her maiden voyage, and Doug had to work this weekend anyway. But, in honour of the occasion, we headed over to McDonald Park Campground right here in Sidney, for their camping season kick-off event.

Parks Interpreters, Girl Guides, and representatives from Mountain Equipment Co-Op set up information booths at camp sites around the park. There were games, bannock and marshmallow roasting, gear demonstrations, and Dutch Oven cooking lessons, plus plenty of banana slugs and tent caterpillars to entertain Ariel.


Photo courtesy HelloBC.com


The campground is part of the Gulf Islands National Park Reserve, and is located in a hilltop patch of lovely forest just on the outskirts of our little town, right near the ferry terminal to Vancouver. Although it's only five minutes from our house, we plan to camp there at least once this summer.

How did you spend International Glamping Weekend? Did you pitch a tent on the side of a mountain? Park your trailer beside the river with other glamping sisters? Or simply stretch out in the grass in your backyard for a night under the stars? If not, I hope you, like me, at least got a little campfire smoke in your hair.

Glamp on, sisters!


Tuesday, 28 May 2013

Green Smoothies for Glampers

One year for Christmas, my parents-in-law bought us a Magic Bullet. It came with several pitcher sizes, plus various lids. I use it almost daily. This handy little device is perfect for quick smoothies, especially when you don't want to bother hauling out the big blender.

Magic Bullets are light and small enough to take along Glamping. Simply toss in whatever organic fruit and greens you have in your teeny fridge (and maybe a splash of maple syrup or honey) and you've got a quick and easy breakfast that's refreshing and literally packed with nutrients and antioxidants.

These smoothies are also a great way to pack dark leafy greens into your daily diet. If you don't care for things like kale, chards, parsley and cabbage on their own, just toss a few leaves into your smoothie and you won't even notice them! Mint, lemon, raw cacao, ginger, organic vanilla powder, and flax seeds are also great additions. Use your imagination!

In her Glamping book, MaryJane Butters warns against dining on junk food during your glamping trip. Green smoothies will keep you feeling energized and fabulous!

Important: make sure all ingredients are organic! Pesticide smoothies do not a happy body make.

Here's what I whipped up today, much to the delight of my kids (who won't normally eat Swiss chard):

2 ripe pears, cubed
1 apple, cubed
3/4 cup water
1 huge Swiss chard leaf and stem
Handful fresh parsley
Handful fresh picked chocolate mint
1/4 to 1/2 cup Bottled lemonjuice or juice of 1 lemon

Enjoy!

Monday, 20 May 2013

Of Life and Lemons

Gluten free? How hard can that be?

I come from a long line of bread lovers. Dinner rolls, biscuits, pancakes, muffins, and big, fluffy, freshly baked loaves of bread slathered in honey and butter--I love them all. I also love to bake (my maiden name is Baker after all) and breads are one of my specialties. 

Still, I didn't panic when Ariel's recent blood tests came back showing a high sensitivity to gluten. Sure, it'd be a challenge to go gluten-free. But the main thing was, we'd finally discovered the cause of all her tummy pains. 

"Just think of all the new foods we can try!" I told my eight-year-old, assuring her that this culinary adventure would lead us to all sorts of new and delicious discoveries. "And we're in this as a family," I promised. "If there's something you can't eat, none of us will eat it."

But it didn't take long for all of us to feel frustrated. The first thing I learned was that the gluten protein sticks around, getting into every nook and cranny in the kitchen. That meant things like the toaster would have to go. And, of course, all the flours, cereals, pastas, condiments and other gluten-contaminated foods in our cupboards and fridge, which would also have to be washed out before I could restock with gluten-free foods. With our son's 3rd birthday party only two days away, we worked like mad to purge and clean our kitchen from top to bottom, while I tried not to worry about how I was going to make the birthday cake. 

Now take away eggs, cane sugar, mushrooms and whey...

To complicate matters, eggs, cane sugar, mushrooms and whey protein showed up as other culprits on Ariel's test. It didn't take me long to discover that many gluten-free foods contain at least one other ingredient Ariel can't have. My first shopping trip took ages. I'd take down a product, scan the ingredients list, and have to put it back on the shelf. Suddenly, I had a very keen sympathy for all the millions of other folks with dietary restrictions. This was going to be really hard!

Over the next few days, we realized that salad dressings, ketchup, chocolate, and a multitude of other foods were now off limit. "I can't eat anything anymore!" Ariel wailed when she realized she couldn't finish her Easter chocolates, enjoy her favourite creamy cucumber salad dressing, have regular ice cream in a cone, or roast marshmallows over the fire this summer. "When it gets to the point where I can't even play with my Play-doh, that's just ridiculous!" she sobbed.

Secretly, I began to despair a little too. There's gluten in EVERYTHING! But I determined not to let it get the better of us. After all, most of the foods we were giving up weren't that great for us anyway, or I could simply make my own version. Besides, our new diet would reward us all with better health. Millions of other people have given up these foods; we could do it too.

This calls for some culinary creativity!

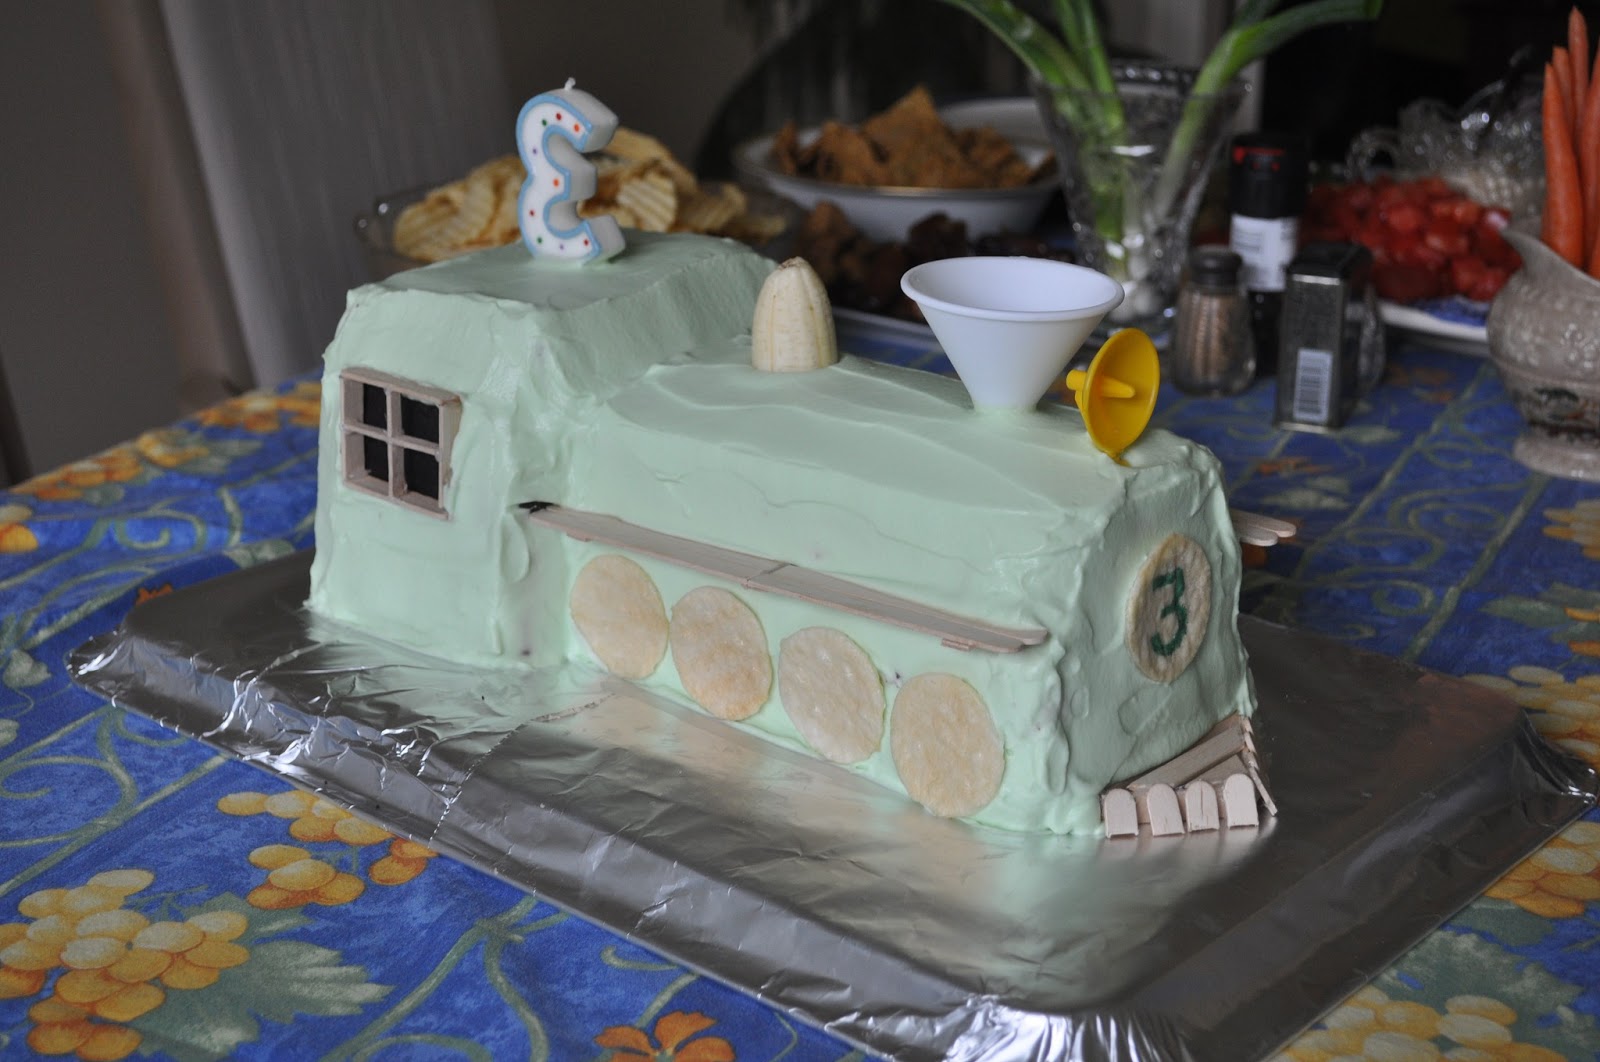
As it turned out, our first gluten, egg, whey, mushroom and cane sugar-free feast at Graham's birthday party was a smashing success. The chocolate birthday cake was delicious and nutritious--moist, rich and dense like a brownie, with cooked beets for added sweetness. Luckily we can still have dairy in moderation, so I made the vanilla frosting out of cream cheese and whipped cream sweetened with Xylitol (a fruit sugar that's also good for your teeth). The icing was delicious, held its shape at room temperature, and was ridiculously easy to work with. 


Riding on the success of our first attempts at the new diet, we've adopted the motto: "It's not a matter of giving up foods, merely of substituting with a healthier version."

I admit that so far, the gluten-free breads we've tried are dry, crumbly and not very tasty. My gluten-free pancakes were an expensive disaster that remained gooey inside no matter how long I cooked them. I still have no idea how we'll ever enjoy hot dogs or hamburgers again in a lovely, soft bun. Sandwiches just aren't the same on rice cakes, and I don't even want to think about life without the occasional trip to Dairy Queen. And yes, chocolate is a major problem--the only kind I've found with no cane sugar costs $5 for a teeny, tiny bar and doesn't come in any flavours.

But the benefits? Ariel's horrible, constant tummy pains disappeared within a couple of days on the new diet, along with her sudden bouts of fatigue and crankiness. Graham's mysterious eczema-like rash that he's had since birth is gone. My own stomach pains are gone too. And we all feel energetic and just plain clean inside. 

And I'm having a ball experimenting in the kitchen. It's fun making things like ketchup, salad dressings and crackers that we used to buy ready-made. I'm discovering all sorts of wonderful grains like amaranth and teff, and we are so in love with creamy, cold-pressed coconut oil it's not even funny (ever tried a little spoonful with a drop of honey? So decadent it's impossible to believe it's good for you!). I never would have discovered the wonders of guar gum without these dietary challenges (just toss a bit in runny salad dressings or fruit sauces and voila! Thick and creamy.). And almost everything we buy now is organic, whole and additive-free.

And the chocolate problem? Today, I whipped coconut oil, raw cacao, vanilla, coconut sugar, maple syrup and natural peanut butter into melt-in-your mouth chocolate morsels that the kids declared better than anything we can buy in a store. See recipe below. Sinfully delicious, yet packed with nutrients. (Did you know raw cacao is loaded with zinc, protein, iron and magnesium? Maple syrup is nutrient rich too.) I can't wait to play around with variations. I plan to buy some fun chocolate molds and experiment with melted unsweetened chocolate, too. 

And so, dear friends, the moral of the story: 

When life gives you lemons, make organic, freshly squeezed lemon-aid sweetened with unpasteurized local honey. You'll be shocked at how much better it tastes. And best of all, you'll be rewarded with increased health and happiness--the value of which cannot be measured. 


Chocolate Peanut Butter Morsels

1/2 Cup organic, cold-pressed coconut oil, slightly softened
1/2 Crunchy natural peanut butter (or any other nut butter)
1/3 Cup coconut sugar 
1 Tsp. vanilla 
3 Tblsp. raw cacao (or cocoa powder)
Maple Syrup (sweeten to taste)

Whip all ingredients in a bowl until thoroughly blended. Sweeten to taste with maple syrup and mix well. Drop into small balls onto a cookie sheet lined with parchment, silicone or waxed paper (or refrigerate until dough is slightly firm, then shape into balls. You can also flatten with a fork for a pretty appearance). Refrigerate until firm and enjoy!

Variations: Add coconut, dried cranberries, nuts or extracts like mint or rum. Experiment with different nut butters, or omit nut butter altogether. Try sprinkling with maple sugar, sea salt or pressing a whole nut into the centre of each ball when soft. You can use regular sugar, or any sugar substitute like Xylitol or date sugar.

Monday, 6 May 2013

Bing's Bunk Gets A Lift

Goodness me, April was a busy month! But not too busy to squeeze in a small interior renovation that greatly enhances the functionality of our tiny camper.

The Problem: A narrow upper bunk and no place to sit


Bing has a great layout, with a front bunk where our kids will sleep--Ariel on the top and Graham on the bottom--plus a side dinette that converts into a double bed. As you can see in this before shot, the upper bunk is very narrow, and is tucked right against the sloping wall and window, making it feel narrower still.

The upper bunk is removable, but there was nowhere to store it inside the camper. Since it's hardly practical to store the bunk outside all day long while camping, the lower bunk was pretty much unusable as a couch. That left only the dinette for seating, which is fine when the weather is great and we're mostly outdoors, but not so comfy when everybody wants to cozy up inside.

The Solution: Pull the bunk away from the wall, and add brackets to store it against the ceiling during the day


My clever husband, Doug, engineered the whole modification and had the project done within a couple of days, with very little cost. Here, he's installing the new supports for the bunk. As you can see, he's installing them out from the front wall about six inches. This will make the bunk seem wider, even though the actual sleeping surface is the same as before.

Above: Do you see the ledge that runs under the window? When Ariel is up in her bunk, she'll have a little "pocket" about four inches deep at her bedside to store books and toys in.

Below: As you can see, when we remove the upper bunk, Bing feels really spacious inside, and the lower bunk becomes a roomy "couch" big enough for the entire family plus our small dog, Higgins. The cushions from the upper bunk become the back couch cushions.


Here's the bunk installed on its new supports: 


Top view of the upper bunk, out from the wall a few inches: 


Installing the bunk out from the wall creates a nice storage ledge beneath the window for Ariel's toys and books:


The next step was to build new brackets to hold the upper bunk up against the ceiling. Doug left enough room to tuck pillows and bedding up there, too. Talk about handy!


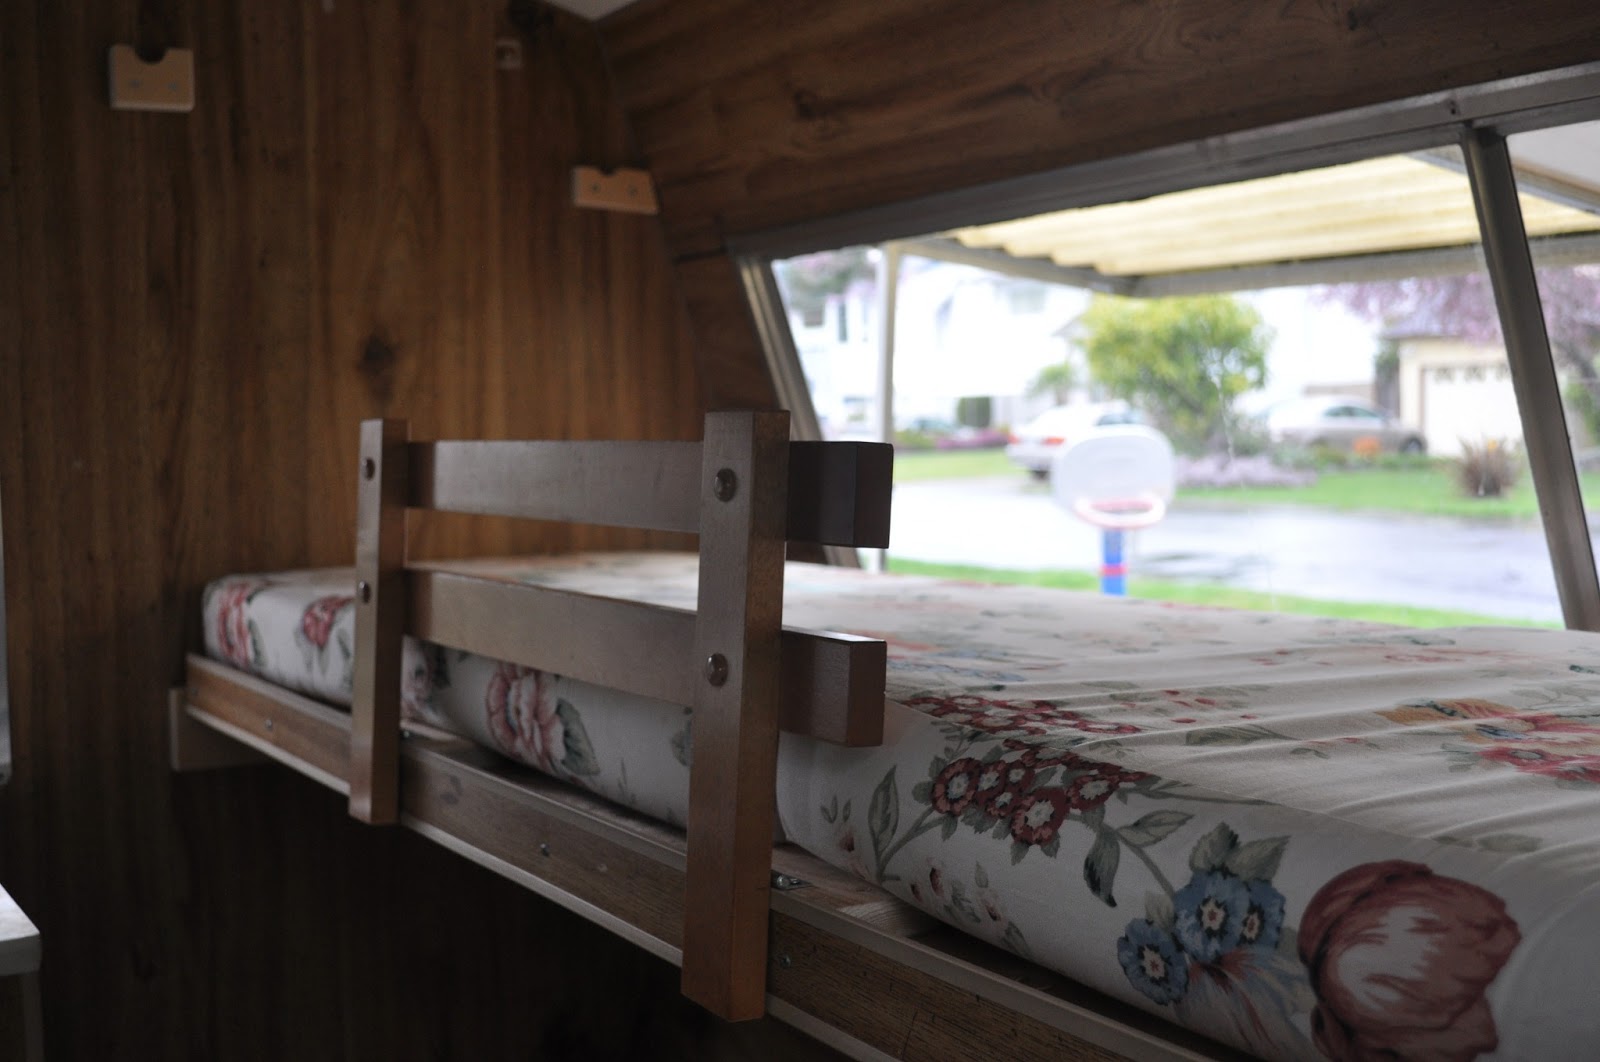
And finally, to make Ariel feel safe and secure, we added a guardrail. The rail is part of the vintage bunk bed set they sleep on in the house (Doug and his brother used them as kids at the family cottage on nearby Salt Spring Island!). We took the bunk beds apart because the kids have their own rooms, so this guard rail was just stored in Graham's closet, unused.


Doug put the rail on hinges so that it folds flat for storage. 


Voila! Two happy little campers.


If only I'd thought to snap a picture of the bed installed against the ceiling and the couch set up before we took everything out for painting! But you Glamper girls have vivid imaginations, so I know you can picture that one, last detail.

Next up: Bing gets whitewashed!!